Fitting a shower enclosure might seem like a simple upgrade, but getting it right requires precision, planning and a solid understanding of the installation process.
Whether you’re refreshing your bathroom or tackling a full renovation, knowing how to fit a shower enclosure properly can make the difference between a sleek, watertight finish and ongoing issues like leaks or unstable surfaces.
In this guide, we’ll walk you through each stage of the process, from preparation to sealing, while highlighting common mistakes to avoid. And if you’re considering professional help, it will also give you confidence in what to expect from experienced installers.
How to Fit a Shower Enclosure: Planning and Preparation
Selecting the best shower enclosure for your project is essential. Before picking up any tools, preparation is key. A poorly prepared space can lead to misalignment, leaks and long-term damage. Start by checking:
- Your available space: Measure the width, depth and height carefully
- Wall condition: Ensure walls are solid, plumb and properly tiled or waterproofed
- Shower tray installation: The tray must already be level and securely fitted
If your tray isn’t perfectly level, your enclosure won’t sit correctly. This is one of the most common causes of water leakage.
You’ll also need the right tools and materials, including:
| Spirit level | Measuring tape and pencil |
| Drill and appropriate bits | Screwdriver set |
| Silicone sealant and gun | Protective gloves |
| Rubber mallet | Adjustable spanner |
| Bucket | Towels |
Make sure your enclosure packaging includes all brackets, screws, wall plugs and seals before you begin. Missing parts mid-install can cause unnecessary delays. Keep old towels and a bucket handy to protect surfaces and catch water when testing for leaks.
For safety, wear protective glasses when drilling, and handle glass panels with care, as their edges can be sharp despite being toughened.
How to Fit a Shower Enclosure in 7 Simple Steps
We’ve broken down the process of fitting a shower enclosure into 7 easy steps.
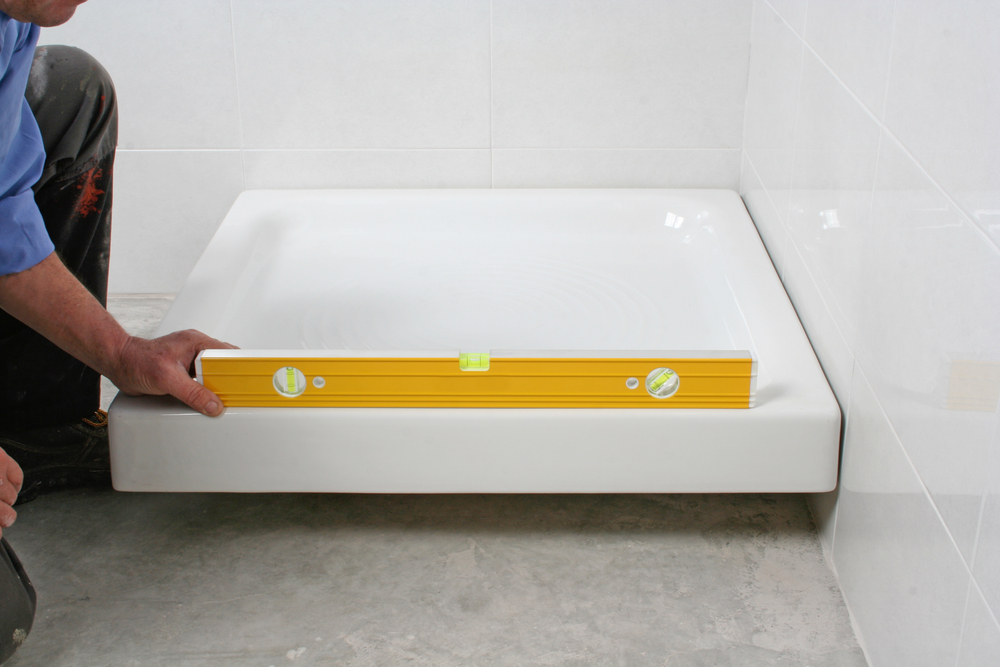
1. Install the Shower Tray
If you’re starting from scratch, the shower tray is the foundation of your enclosure. Here’s what you need to do:
- Position the tray and ensure it’s completely level
- Connect the waste pipe securely
- Seal around the edges where the tray meets the wall
Allow everything to set properly before moving on to step 2. Rushing this stage can compromise the entire installation.
2. Mark Out the Wall Channels
Wall channels, also known as wall profiles, form the framework that holds the glass enclosure panels in place. Precise positioning is essential for both the enclosure’s performance and overall finish.
- Position the profiles against the wall
- Use a spirit level to ensure they are perfectly vertical
- Mark the drill holes with a pencil
Accuracy here is crucial. Even a slight misalignment can prevent doors from closing properly.
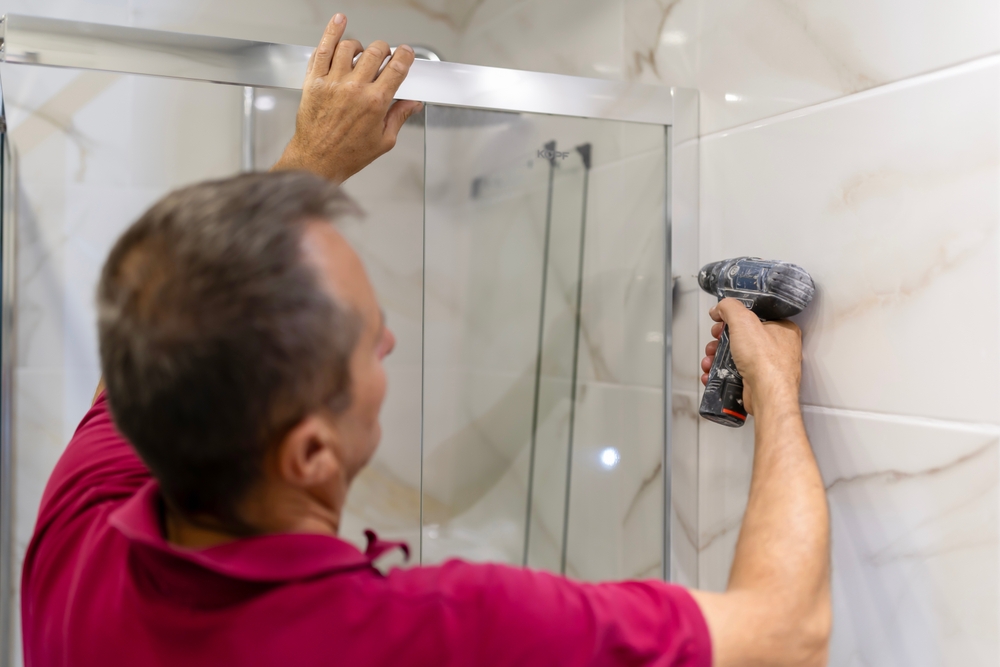
3. Drill and Fix the Profiles
Once everything has been carefully marked out, it’s time to fix the profiles:
- Drill holes into the wall (use tile or masonry bits as required)
- Insert wall plugs into drilled holes until flush with the wall surface
- Secure the profiles with screws, checking they remain vertical. Don’t fully tighten until you’re satisfied everything is properly aligned
Be careful not to overtighten, as this can crack tiles or distort the profile.
4. Fit the Glass Panels
Glass panels are heavy and difficult to handle on your own. It’s best to have help at this stage unless you’re experienced and confident handling large sheets of glass safely.
- Carefully slot the main fixed panel into the wall channel until it seats neatly in the bottom channel or directly onto the edge of the shower tray
- Ensure they sit securely and evenly
- Use a spirit level on multiple surfaces to check alignment, adjusting the wall channel where necessary
- Fully tighten all fixings using the supplied brackets or clamps, carefully following the manufacturer’s instructions. These parts are designed specifically for the enclosure, so replacing or altering their placement can lead to issues.
5. Install the Shower Door
Door installation differs depending on the type of enclosure, with sliding, pivot, hinged and bifold systems each requiring their own specific fitting steps as outlined in the manufacturer’s instructions.
- Sliding doors: Start by installing the track system, making sure it is level and firmly secured. The door panels can then be fitted into the tracks from above, with rollers or guides at the top and bottom ensuring smooth, controlled movement
- Pivot or hinged doors: Hinged or pivot doors must have hinges positioned accurately to ensure smooth movement without sticking, while still forming a proper seal when closed. The magnetic strips or seals that provide a watertight finish also need to be carefully aligned
- Check the door opens and closes properly
- Adjust the door alignment, hinges or rollers as required
Minor changes to roller height, hinge settings or magnetic strip positioning will help ensure smooth movement and a secure, watertight seal. A properly fitted door should glide easily and close tightly without gaps.
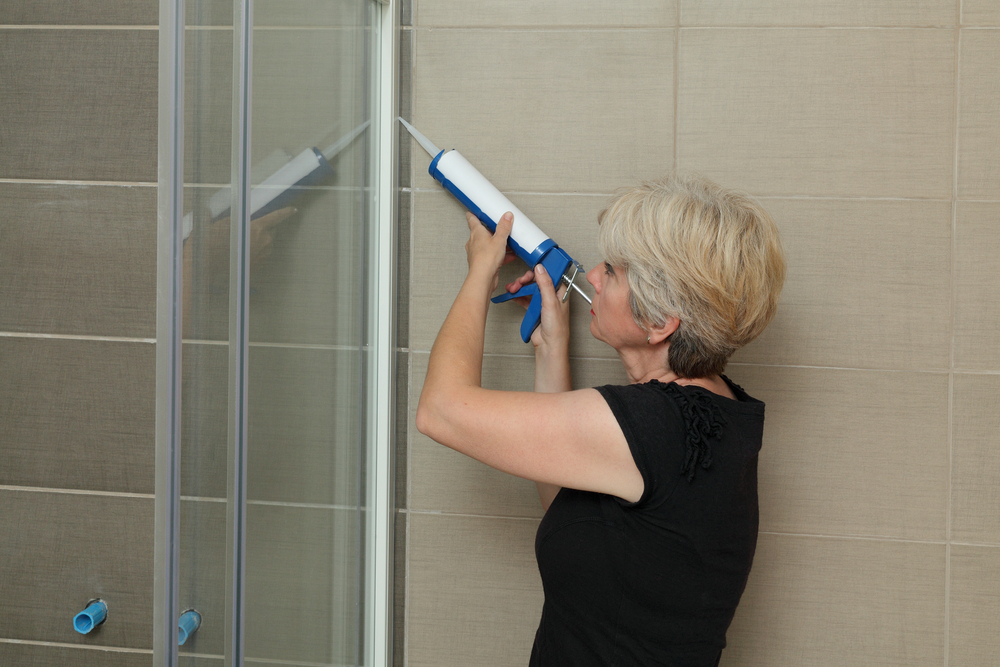
6. Seal the Enclosure
Sealing is what ensures your shower enclosure is fully waterproof. However, sealing is a common weakness in DIY installations, often leading to leaks that only become obvious after a few uses once water has managed to escape through poorly sealed areas. Here’s what you should do:
- Apply a line of beads of bathroom-grade silicone sealant along the outside edges where the enclosure meets the wall and tray
- Don’t leave gaps or breaks when applying sealant to prevent leakage
- Avoid sealing the inside edge (this allows any trapped water to drain)
- Use a smoothing tool or your finger to create a clean, even finish
7. Let It Cure
Once sealed, allow the silicone to cure fully. This typically takes around 24 hours, after which it should be safe to use the shower. Using the enclosure too soon can compromise the seal and lead to leaks.
How to Fit a Square Shower Enclosure
If you’re specifically looking at how to fit a square shower enclosure, the process is largely the same, but with a few key considerations.
Square enclosures are popular for their clean lines and efficient use of space, especially in modern bathrooms.
Key installation tips include:
- Ensure both walls meet at a perfect 90-degree angle
- Double-check measurements, as square enclosures rely on symmetry
- Pay extra attention to door alignment, as any deviation is more noticeable
Because of their shape, even small inaccuracies can affect the overall look and functionality of a square shower enclosure.
Common Mistakes to Avoid
Even with careful planning, there are a few pitfalls that can catch DIY installers out when fitting a shower enclosure:
Not Checking Levels
If your tray or walls aren’t level, the enclosure won’t fit properly. Always check with a spirit level at every stage.
Poor Sealing
Incorrect sealing is one of the main causes of leaks. Remember to seal the outside edges only and allow proper curing time.
Overtightening Screws
This can damage fittings or crack tiles. Tighten securely, but don’t force it.
Rushing the Installation
Taking shortcuts often leads to costly repairs later. Give each stage the time it needs.
Incorrect Measurements
Measure twice, then measure again. Even a few millimetres can make a big difference.
What are the Benefits of Professional Shower Installation?
While it’s possible to learn how to fit a shower enclosure yourself, it’s not always the best option, especially if your walls are uneven or plumbing adjustments are needed.
Similarly, it could be worthwhile to use a professional service if you’re installing a high-end or bespoke enclosure and you’re looking for a flawless, long-lasting finish.
Professional installers bring experience, precision and the right tools to ensure everything is fitted correctly the first time.
What are the Dangers of Poor Shower Installation?
A shower enclosure isn’t just a visual feature; it plays a vital role in protecting your bathroom from water damage. Poor installation can lead to:
- Water leaks and damage: Inadequate sealing allows water to escape, leading to damaged floors, walls and even ceilings below
- Mould and mildew growth: Persistent moisture creates the perfect environment for mould, which can affect both your home and health
- Structural damage: Long-term water ingress can weaken timber, plasterboard, and subfloors
- Loose or unstable panels: Incorrectly fitted glass panels can shift, posing a safety risk
- Door misalignment: Poor installation can cause doors to stick, not close properly, or fail to seal
- Cracked tiles or fittings: Overtightening or uneven pressure can damage surrounding materials
- Poor drainage: Incorrect tray or enclosure positioning can lead to standing water and slow drainage
- Higher repair costs: Small installation errors often turn into expensive fixes if not addressed early
Getting the installation right from the start helps avoid these issues and ensures your shower enclosure remains safe, functional and durable.
Still Wondering How to Fit a Shower Enclosure? Get in Touch with KNB Today
As Nottingham’s leading kitchen and bathroom specialists, we have over 30 years’ experience in bathroom design and installation. View our recent bathroom projects, request a brochure or contact us today for more information.